Welcome to our blog! Here we will be discussing how to make a homemade handpan. For those of you who don’t know, a handpan is a musical instrument that is similar to a steel drum. They are becoming increasingly popular, but can be quite expensive. So, if you’re looking to save some money or just want to try your hand at making one, then this is the blog for you!
Introduction
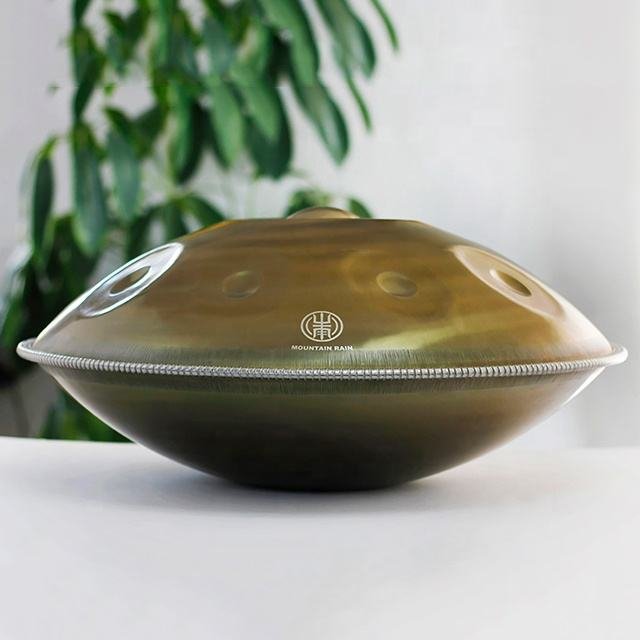
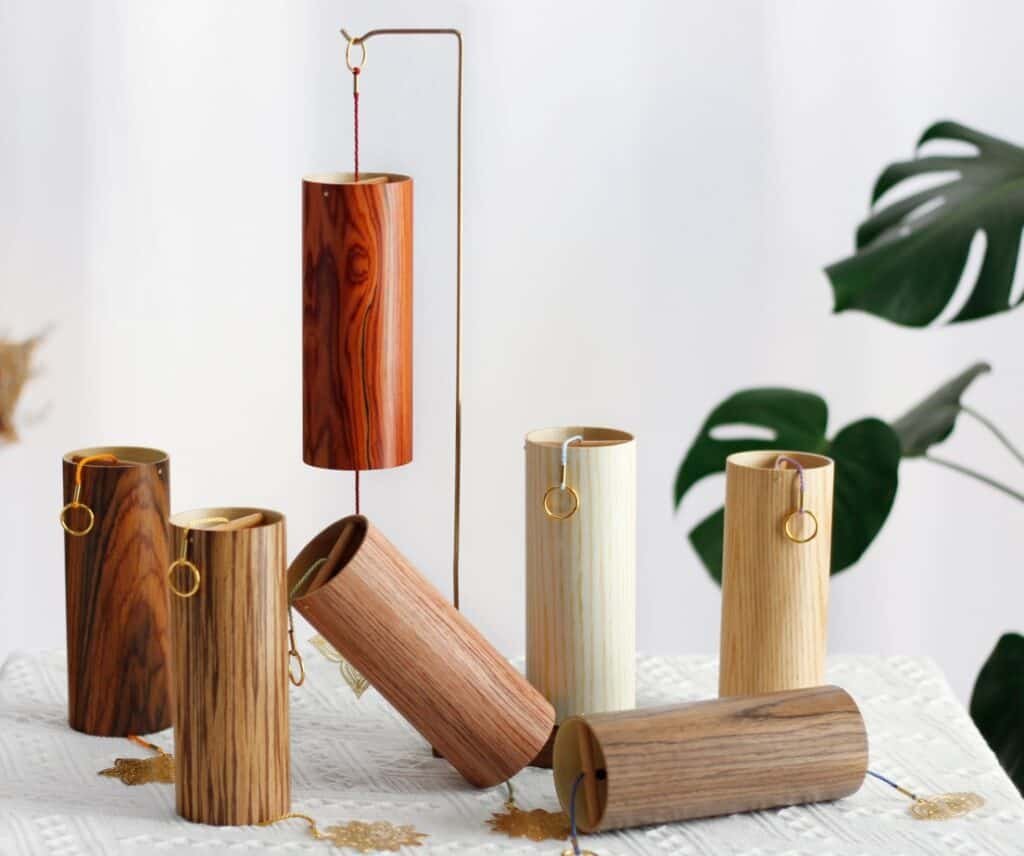
A handpan is a musical instrument that produces a unique, ethereal sound. Handpans are played by striking the exposed surface with light mallets, producing a sound that has been described as “reminiscent of a steel drum, gamelan, and Tibetan singing bowl.”
Handpans are relatively new musical instruments, having only been invented in the early 2000s. While there are now several companies mass-producing handpans, it is also possible to make your own homemade handpan. In this article, we’ll walk you through the steps of how to make a handpan from scratch.
What is a handpan?

A handpan is a type of musical instrument that is played by striking the surface with the hands. It has a round shape with a convex bottom and typically has eight or nine notes. The notes are arranged in an inverted fashion, with the lowest note at the center and the highest note at the edge. Handpans are also sometimes known as steel drums, hang drums or tank drums.
The history of the handpan
The handpan is a relatively new instrument, having only been invented in the past few decades. However, its story begins long ago, with the steel pan.
The steel pan is a percussion instrument that originated in Trinidad and Tobago. It is made from a steel drum that has been cut in half and flattened. The bottom half is then filled with water, and the top half is used as a resonating chamber. The steel pan was invented in the early 20th century and quickly gained popularity in Trinidad and Tobago. It soon spread to other Caribbean islands, and by the 1950s, it was being performed in America and Europe as well.
However, the steel pan has some inherent limitations. For one, it can only be played in one key. This means that it can be difficult to play complex melodies or chords on the instrument. Additionally, the steel pan is quite heavy and bulky, making it difficult to transport.
In the early 2000s, two Swiss musicians set out to create an improved version of the steel pan. They began by experimenting with different materials and eventually settled on aluminum. This metal was lighter than steel but still provided a strong sound. They also decided to make the instrument oval-shaped, rather than round like a traditional steel pan. This allowed for more notes to be played on the handpan without losing any of the resonance or volume.
After several years of trial and error, the first handpan was finally created in 2003. Since then, these instruments have become increasingly popular around the world. They are now used by musicians of all genres, from classical to rock to jazz.
How are handpans made?

Handpans are percussion instruments that produce sound when struck. They are also known as steel tongue drums or hang drums, and they are played with the hands.
Handpans are made from a variety of metals, but most commonly they are made from steel. The steel is formed into a bowl shape and then heated until it is red-hot. Once the metal is hot enough, it is placed into a mold that gives it the desired shape.
Once the metal has cooled and hardened, it is tuned to create specific notes. This is done by hammering the metal into the desired shape and then using a file to remove any excess metal. The final step is to polish the handpan to give it a smooth finish.
Materials needed to make a handpan
There are a few key materials you’ll need in order to make your own handpan. First, you’ll need a Hammer. This will be used to shape the metal pan. Second, you’ll need a Metal Pan. This will be the base of your handpan. Third, you’ll need to apair of Pliers. These will be used to hold the metal pan while you shape it. Fourth, you’ll need a File. This will be used to smooth out the edges of the handpan. Finally, you’ll need some Sandpaper. This will be used to give the handpan a smooth finish.
The process of making a handpan
Gathering the Materials:
Before starting your homemade handpan project, you’ll need to gather the following materials:
- Steel sheet
- Disc cutter or jigsaw
- Tuning equipment (tuning hammer, tuning wrench)
- Nitrocellulose lacquer
- Sandpaper (various grits)
- Rubber feet
- Drill
- Compass or templates for marking notes
- Protective gear (gloves, safety glasses)
Step 1: Preparing the Steel
To begin, prepare the steel sheet by cleaning it thoroughly to remove any dirt or oil. This ensures better adherence of the lacquer and prevents rusting in the future. Use sandpaper or a wire brush for this purpose.
Step 2: Marking the Notes
Using a compass or templates, mark the positions of the notes on the steel sheet. Ensure accurate placement and spacing to achieve the desired sound quality. Consider the scale and arrangement of notes based on your musical preferences.
Step 3: Cutting the Shell
Using a disc cutter or jigsaw, carefully cut out the shape of the handpan shell. Take your time and follow the marked outlines precisely. Smooth the edges of the shell using sandpaper to prevent any sharp edges.
Step 4: Shaping and Tuning the Notes
Using tuning hammers and wrenches, shape and tune each note by carefully hammering or bending the metal. This process requires patience and precision to achieve the desired pitch and resonance for each note.
Step 5: Creating the Bottom Dome
Using appropriate tools, create a slight convex shape on the bottom of the handpan shell. This dome enhances the resonance and overall sound quality of the instrument.
Step 6: Adding the Bottom Hole
Drill a small hole in the bottom dome of the handpan. This hole helps balance the air pressure inside the shell and allows the sound to escape more effectively.
Step 7: Applying the Nitrocellulose Lacquer
Apply a thin and even layer of nitrocellulose lacquer to the entire surface of the handpan shell. This protective coating not only enhances the instrument’s appearance but also prevents rusting and corrosion.
Step 8: Adding Decorative Finishes (Optional)
If desired, you can add decorative finishes to your handpan, such as intricate designs, engravings, or custom paintwork. Let your creativity shine through this step.
Step 9: Attaching the Rubber Feet
Attach rubber feet to the bottom of the handpan to protect it from scratches and provide stability when playing. Ensure they are securely attached to prevent any movement during use.
Step 10: Final Tuning and Testing
Once all the steps are complete, it’s time for the final tuning and testing. Play each note and make any necessary adjustments to achieve the desired sound quality and harmony. Experiment with different playing techniques to explore the instrument’s full potential.
Tips for making a handpan
If you want to make your own handpan, there are a few things you should keep in mind. First, you’ll need a steel drum with the correct dimensions. The drum should be about 28″ in diameter and 12″ deep. You’ll also need a hammer and chisel to make the indentations in the steel, and sandpaper to smooth out the surface.
Once you have your materials, you’ll need to cut a circular piece out of the center of the steel drum using the hammer and chisel. This will create a ” bowl” shape. Next, use the chisel to make eight evenly-spaced indentations around the edge of the bowl. These indentations will eventually become notes when you play the handpan.
After you’ve made the indentations, use sandpaper to smooth out the surface of the steel. Be sure to sand evenly so that all of the notes produce the same sound when played. Once you’re finished sanding, your handpan is ready to play!
Conclusion
If you’re interested in building your own handpan, there are a few things you’ll need to know first. The good news is that it’s not as difficult as it might seem, and with the right tools and materials, you can create a beautiful instrument that will last for years.
First, you’ll need to choose the right metal for your handpan. The most common metals used are steel, aluminum, and copper. Each metal has its own unique sound, so it’s important to choose one that you think will produce the sound you’re looking for.
Next, you’ll need to decide on the size and shape of your handpan. There are many different designs to choose from, so it’s important to take your time and find one that you think will look and sound great.
Once you have the metal and the design chosen, it’s time to start building! The first step is to create the mold for your handpan. This can be done with a variety of materials, but the most common is fiberglass. Once the mold is created, you’ll need to heat the metal until it’s malleable and then shape it into the desired shape. After the metal has cooled, you can remove it from the mold and start tuning your handpan!